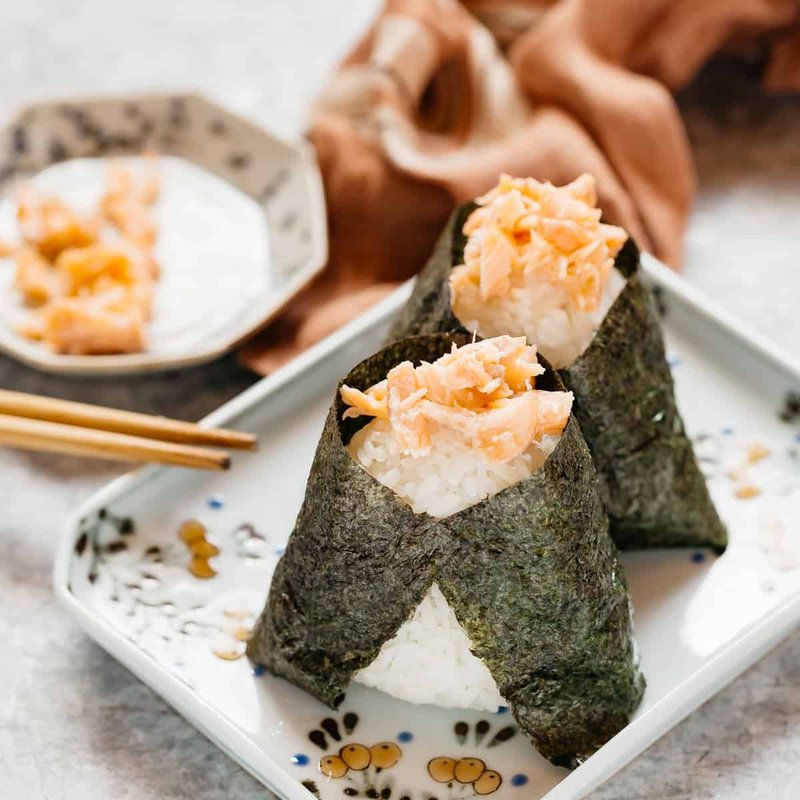
Onigiri
Japan's hand-held rice: salted short-grain rice pressed into triangles around a filling of pickled plum or salmon, wrapped in nori.
Overview
Short-grain Japanese rice (sushi rice) is rinsed several times until the water runs clear, then cooked with slightly less water than for regular rice (so each grain stays separate-but-sticky). Cooled slightly to warm (not hot, hands burn; not cold, rice doesn't compress). Filling options prepare: umeboshi (sour pickled plum, sold whole or paste); salt-grilled salmon flaked; tinned tuna mixed with mayo and a pinch of soy. Hands wet with water, dust with salt, take a generous handful of rice, press a thumb-dent in the centre, drop a teaspoon of filling, fold the rice over to enclose, press into a triangular shape with the palms. Wrap each ball with a small strip of nori at the base.
Ingredients
Rice
- 400 g short-grain Japanese rice (sushi rice - Koshihikari, Calrose, or similar; NOT basmati / jasmine / long-grain)
- 500 ml water (a 1:1 ¼ ratio rice to water)
- 1 teaspoon salt (to fold in after cooking, optional)
Fillings (pick 1-2; each makes 4 onigiri)
Umeboshi (classic)
- 4 umeboshi plums (whole; pitted; or 4 teaspoons umeboshi paste)
Salmon flake (yaki shake)
- 200 g fresh salmon fillet + 1 teaspoon salt
Tuna mayo (tsuna mayo)
- 110 g tuna in oil (drained)
- 2 tablespoons Japanese mayonnaise (Kewpie)
- 1 teaspoon light soy sauce
Kombu (kombu no tsukudani)
- 30 g kombu seaweed simmered in soy sauce, sugar and mirin
To shape and wrap
- Cold water (for wetting hands)
- 1 teaspoon flaky salt (for the hands)
- 4 sheets of nori (sold at Japanese / Asian shops - sushi-grade)
- 1 teaspoon toasted white sesame seeds (optional, for sprinkling)
- 1 teaspoon furikake (rice seasoning sprinkles, optional)
Method
Stage 1 - Cook the rice
- Place the rice in a sieve.
- Rinse under cold running water, swirling with your hand, until the water runs nearly clear (about 4-5 rinses).
- Drain fully; let rest 15 minutes (lets each grain hydrate evenly).
- Tip into a heavy lidded saucepan; add the 500 ml water.
- Bring to a boil over medium heat; immediately reduce to the lowest possible setting; cover tightly.
- Cook 15 minutes - don't peek.
- Off heat; rest covered another 10 minutes (essential - the residual steam finishes cooking).
- Fluff with a wooden paddle / spatula; tip onto a wide tray to cool slightly to warm (not hot).
Stage 2 - Prepare fillings (do whichever you're making)
- Umeboshi: pit the plums; mash slightly with a fork.
- Salmon: sprinkle salmon fillet with 1 teaspoon salt; let stand 10 min; grill / broil / pan-fry skin-side down 4 min, then flip 4 min more until cooked through. Flake the flesh; discard skin and bones.
- Tuna mayo: mix drained tuna with mayo and soy in a bowl.
- Kombu: simmer 30 g kombu strips with 100 ml water, 2 tablespoons soy, 1 tablespoon sugar, 1 tablespoon mirin for 20 min until tender and most liquid is absorbed; chop fine.
Stage 3 - Wet hands and salt
- Have a small bowl of cold water at the workstation.
- Have a small pile of salt on a plate.
- Wet both palms thoroughly (this prevents rice from sticking).
- Lightly dip the fingertips of one hand in salt and press the salt into the wet palms (just enough to season).
Stage 4 - Form the onigiri
- Scoop about ⅓ cup of warm rice into one palm (about 100 g; enough for a generous handful).
- Press the rice into a flat-ish disc in the palm.
- With the thumb of the other hand, make a small dent in the centre.
- Drop 1 heaped teaspoon of filling into the dent.
- Fold the rice up and around the filling, enclosing it completely (re-wet and re-salt hands if rice is sticking).
- With both palms, press the rice into a triangle: cup one palm to form the bottom edge, use the other palm to form the top corners. Aim for a flat triangular tablet shape, with the filling fully hidden inside. Apply firm but not crushing pressure - the rice should hold together but each grain should still be visible (not mashed).
- Repeat for all 8 onigiri.
Stage 5 - Wrap with nori
- Cut each sheet of nori into thirds (long thin strips, about 7 cm wide).
- Wrap a single strip of nori around the bottom of each onigiri (the long flat side), pressing gently to adhere.
- Or: keep the nori separate and wrap just before eating (gives a crispier nori; pre-wrapped nori softens within an hour).
Stage 6 - Garnish (optional)
- Sprinkle the top with toasted sesame seeds or a small amount of furikake.
- For salmon onigiri, leave a small visible portion of salmon on top as a decorative cue.
Stage 7 - Serve
- Pack into a bento box, eat fresh, or wrap individually in cling film for transport.
- Eat at room temperature within 4 hours.
Notes
- Short-grain Japanese rice only: Long-grain rice (basmati, jasmine, American long-grain) doesn't stick properly and won't hold the onigiri shape. Sushi rice or Calrose-style short-grain is essential.
- Warm rice, wet hands: Hot rice burns; cold rice won't compress. The sweet spot is warm - about 50-60°C. Wet hands prevent the sticky rice from clinging to skin; dry hands give a frustrating mess.
- Don't over-press: Onigiri should hold together when picked up, but if you squeeze too hard the rice becomes a paste. Aim for firm-but-not-crushed.
Storage
- Best within 4 hours of making, at room temperature.
- Wrap individually in cling film; carry in a lunch box.
- Don't refrigerate - short-grain Japanese rice hardens unappealingly in the fridge. If you must, store wrapped in cling film and bring fully to room temperature before eating.
- Freeze cooked rice in portions; defrost and re-warm in a steamer if making future onigiri.
More like this
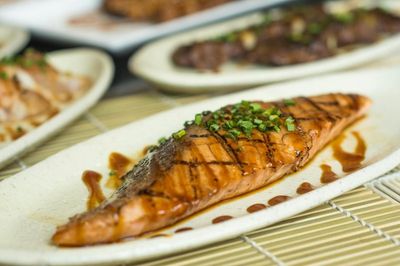
Honey Soy Salmon (One-Pan)
Salmon fillets sear skin-side down for crisp skin, then bathe in a quick honey-soy-mirin-ginger reduction that lacquers them. Broccoli or bok choy steams in the same pan with a splash of stock. Twenty minutes; one pan; serve over rice.
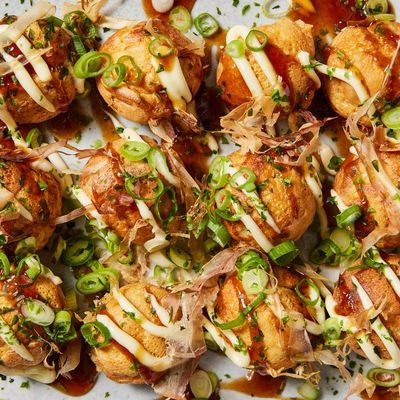
Takoyaki
A thin batter is whisked from plain flour, dashi (Japanese stock), eggs, a touch of soy and mirin, salt, like a thin pancake batter. The takoyaki pan (cast-iron or non-stick with half-spherical dimples) heats; each dimple oils with vegetable oil. Batter fills each dimple plus the connecting flat surface (overflow is intentional). A small piece of pre-cooked octopus, a pinch of pickled red ginger, a few cubes of tempura crumbs (tenkasu) and a sprinkle of spring onion drop into each dimple. As the bottom sets, a sharp wooden skewer rotates each ball: scrape the overflow from around each, fold it into the bottom, twist 90° to expose the wet top, allow it to set, twist another 90°, eventually achieving a complete sphere. Cooked until golden all around. The balls are plated and drizzled with takoyaki sauce and mayo, then scattered with bonito flakes and aonori.
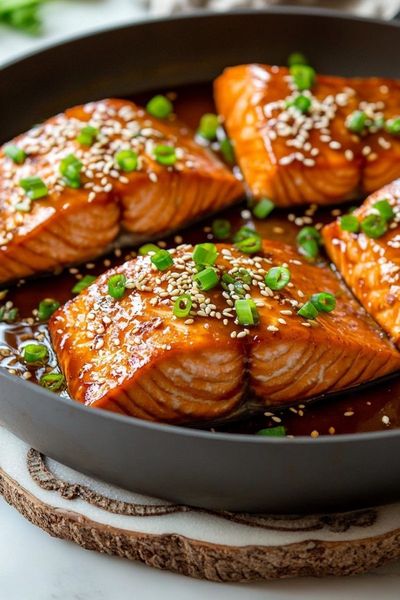
Teriyaki Salmon
Skin-on salmon fillets are seared skin-side down to crisp, flipped briefly, then bathed in a four-ingredient teriyaki glaze that reduces to a glossy lacquer. The pan-sear gives texture; the glaze gives shine and savoury sweetness.
Karaage
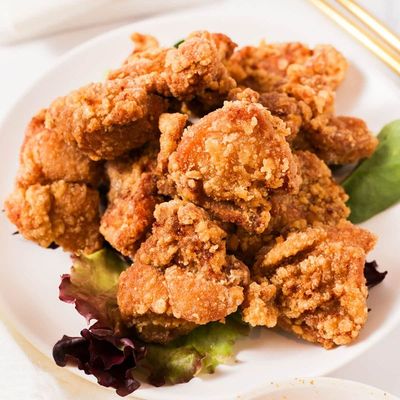
Chicken thighs (boneless, skin-on for the best result) are cut into 4 cm pieces and marinated for 30 minutes in a mixture of soy sauce, sake, grated ginger, garlic, mirin and a touch of sesame oil. The marinated chicken pieces are then thoroughly dredged in potato starch (also called katakuriko in Japanese; cornstarch is a workable substitute but not as good). Oil heats to 160°C for the first fry, chicken pieces fry for 4 minutes until just cooked but not deeply coloured. Removed; rested for 5 minutes. Oil temperature increases to 190°C for the second fry, chicken returns for 60-90 seconds until amber-golden, crisp, and the outside shatters when bitten. Seasoned and served immediately.