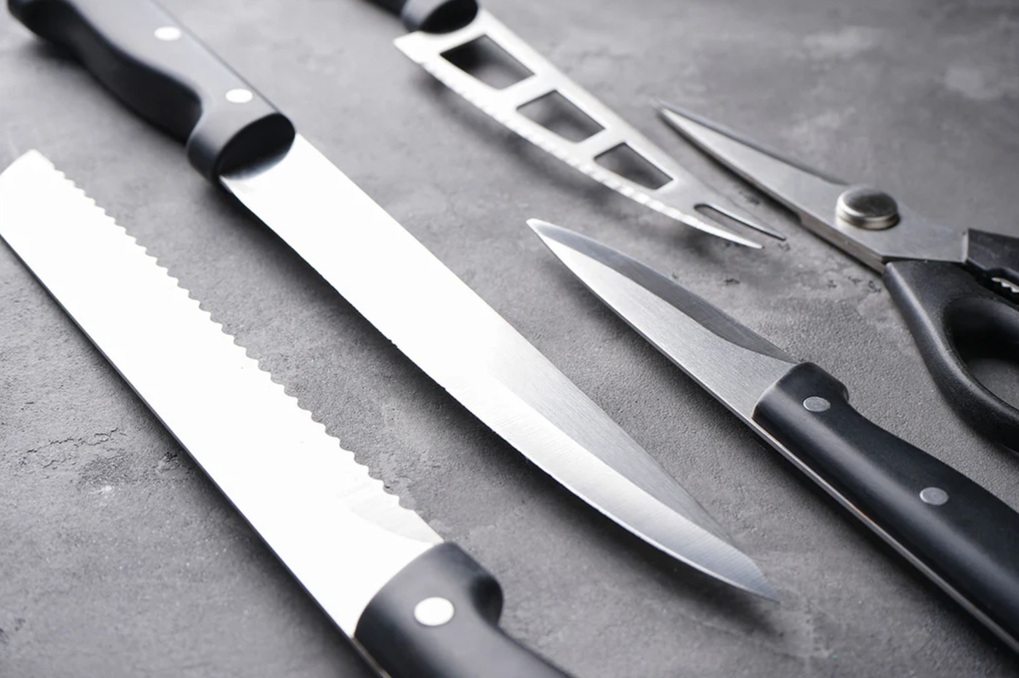
Knife Care
A sharp knife is safer than a dull one. The dull knife slips off a tomato or a finger; the sharp one cuts where you point it. Sharpening is a job for once or twice a year; honing takes ten seconds before each use. Do both and your everyday knife outperforms an expensive one that nobody's maintained.
Overview
Almost every cook has a drawer of dull knives and assumes that's normal. It isn't. Knives lose their edge through use, and that edge needs to be maintained. Two operations:
- Honing (also called steeling): realigning the existing edge. Every 1-3 days of use. Takes 10 seconds.
- Sharpening: removing metal to create a new edge. Every 6-12 months. Takes 5-15 minutes per knife.
Most home cooks never do either. The knife is bought new and sharp, and then dulls over months and years until everything feels like a slow-motion chore. Restoring it to factory sharp takes one sharpening session.
Honing
The daily ritual. A knife's edge is microscopically angled metal. With use, the edge bends very slightly off-axis (without losing material). Honing pushes the edge back into alignment.
What you need
A honing steel (also called a "sharpening steel", though that's misleading; it doesn't sharpen). The classical chef's tool: a metal rod, 25-30 cm long, sometimes ribbed, sometimes smooth, with a handle.
A ceramic rod works similarly; some people prefer ceramic for finer edges.
Method
The two classical techniques:
Vertical hone (safer for home cooks):
- Stand the steel on a chopping board, tip pointing up, handle held vertically.
- Hold the knife at a 15-20 degree angle to the steel.
- Slide the blade down the steel from heel to tip, in a single sweeping motion. The blade should touch the steel at the chosen angle the whole way.
- Alternate sides. 5 strokes per side.
Held-in-air (the classical):
- Hold the steel in your non-dominant hand, tip out and slightly down.
- Hold the knife in the dominant hand at 15-20 degrees.
- Sweep the blade down the steel, heel to tip.
- Alternate sides.
The vertical method is safer; the held-in-air method is faster.
When to hone
Before each use. Or at least before each cooking session. Takes 10 seconds. If the knife seems to be slipping or crushing food (especially tomatoes), it's overdue.
Sharpening
The deep maintenance. Honing doesn't restore lost metal; sharpening removes a thin layer of metal to expose a fresh edge. Done 1-2 times per year for a home cook; weekly for a professional.
Three sharpening methods
Whetstone (best, slowest, most skill). A stone of a specified grit (rougher = coarser; finer = smoother). Two-grit stones (1000/6000) work for almost everyone. Soak the stone in water for 10 minutes. Hold the knife at 15-20 degrees. Slide back and forth on the stone, with steady pressure. 30-50 strokes per side per grit. Total time: 10-15 minutes.
Best result. Hardest to learn; takes 5-10 practice sessions before you're consistent. Worth doing once you're cooking seriously.
Pull-through sharpener (mediocre, fast, no skill). A handheld tool with grooved guides at the right angle. Pull the knife through 5-10 times.
Result: serviceable. Removes more metal than necessary; the knife will need replacing sooner. Best for beginners and people who'll never learn the whetstone.
Electric sharpener (fast, expensive, removes a lot of metal). A countertop appliance with motorised wheels. Knife passes through; comes out sharp.
Result: factory-sharp. Removes a lot of metal. Loud. Some are excellent (Chef's Choice); some are awful (cheap supermarket brands).
Professional service. Many local knife shops and butchers offer sharpening for £5-10 per knife. Excellent value if you only want this done a couple of times a year. Outsource it; live well.
How to tell when a knife needs sharpening
Two tests:
- Paper test. Hold a sheet of paper vertically by one corner. Try to slice down through it with the knife. A sharp knife glides through cleanly. A dull one tears or folds the paper.
- Tomato test. Slice a tomato. A sharp knife glides through skin and into the flesh in one motion. A dull knife crushes the tomato; you have to saw through the skin.
If either test fails after honing, the knife needs sharpening.
Storage
How you store the knife affects how long it stays sharp.
Good options
- Magnetic strip mounted on the wall. The blade touches only the magnet (which is smooth). Knives don't bump each other.
- In-drawer organiser with slots for each knife. Slots keep blades separated.
- Knife block (the classic). Acceptable but slightly worse than a magnetic strip; the blades slide in and out, scraping against the wood.
- Saya / wooden sheaths. Japanese-style sheaths, one per knife. Blades fully protected.
Bad options
- Loose in a drawer. Knives bang into each other and other utensils. The edge dulls in days.
- In the dishwasher. The aggressive water spray, detergent and heat all damage the edge. Hand-wash, dry immediately.
Day-to-Day Knife Hygiene
After each use:
- Wipe with a damp cloth to remove food residue.
- Wash with warm soapy water and a soft sponge. Don't soak.
- Dry immediately with a tea towel. Standing water (especially in the area where the blade meets the handle) causes rust on carbon-steel blades and degrades wood handles.
- Return to storage.
If you've cut acid food (lemon, vinegar, tomato): wash immediately. The acid darkens stainless steel and pits high-carbon steel.
For high-carbon (non-stainless) knives: dry immediately and oil the blade lightly with a vegetable oil or specialist knife oil. They rust easily.
Choosing Between Stainless and High-Carbon
Stainless steel (the standard). Holds an edge well; doesn't rust; easy maintenance. The right choice for almost everyone.
High-carbon steel (e.g. Japanese carbon-steel knives like Tanaka). Takes a sharper edge; loses it faster; rusts if not cared for. For people who actively enjoy maintenance and use the knife heavily.
Stainless + carbon hybrid (Damascus-style, also called "carbon clad in stainless"). Best of both: a carbon-steel core that takes an edge, wrapped in stainless steel that resists rust. Beautiful, expensive, the modern enthusiast's choice.
A Note on Cutting Boards
The board affects the knife as much as anything else.
Best for the edge: wood (especially end-grain wood) and rubber. Both are slightly softer than the knife steel, so the blade sinks in microscopically instead of rebounding off. Edges stay sharp.
Acceptable: plastic (polyethylene), bamboo (denser than wood; harder on the edge).
Bad: glass, ceramic, marble, granite. These are HARDER than the knife. Each cut dulls the edge slightly. Glass cutting boards are the second-most-common cause of dull knives (after dishwasher use).
Common Mistakes
Using the dishwasher. Hand-wash, dry, return to storage.
Never honing. A new knife is sharp; after a month it's noticeably duller. Honing weekly keeps it at near-new.
Storing in a drawer with other tools. Knife edges chip when banged against other metal.
Cutting on glass or stone. Use wood or plastic.
Cutting frozen food. The hard ice damages the edge. Defrost first, or use a serrated knife (the serrations handle bumps).
Forcing a dull knife. Push harder, slipping more, hurting yourself. The fix is to sharpen, not push harder.
Where Next
- Basic Cuts: now that the knife is sharp, here's how to use it.
- Precision Cuts: the classical French presentation cuts.
- Knife Skills Course landing: back to the main course.
More like this
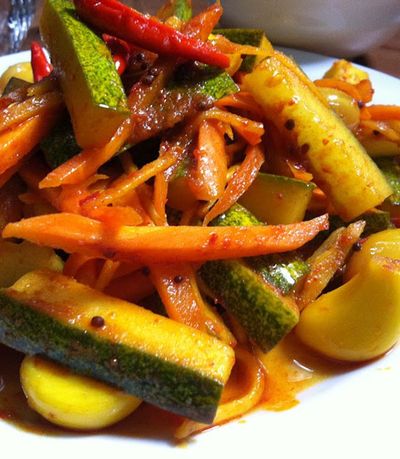
Acar Timun
Cucumber, carrot, shallot, chilli prep into thin slices or matchsticks. Salt rests for 10 minutes to draw moisture, drains. A simple dressing of vinegar, sugar, water and ginger whisks together. Vegetables toss with the dressing; rest for 1 hour at room temperature. Eats cool, never refrigerated cold; the texture suffers.
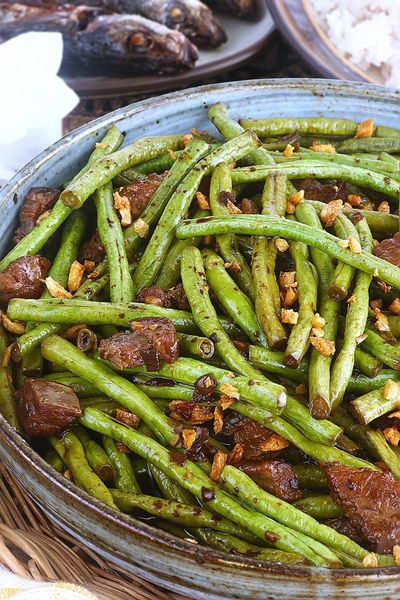
Adobong Sitaw
Garlic browns in oil; long beans toss in to colour briefly. Soy and vinegar pour in with bay and peppercorns; the beans braise covered until tender. Lid off; the liquid reduces to a glaze. Salt at the end, not the start, since soy is salty enough.
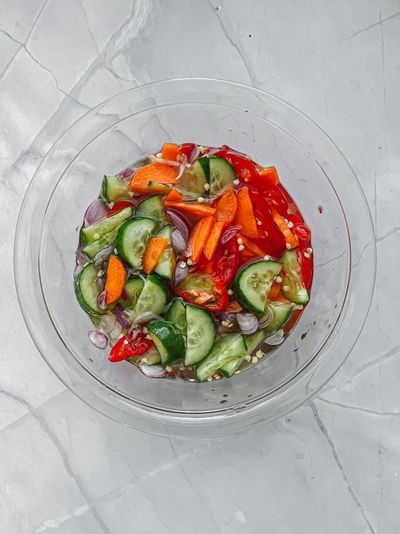
Ajad
A simple syrup of rice vinegar, palm sugar, water and salt is brought to a gentle simmer to dissolve the sugar, then cooled. Cucumber, shallot and chilli are sliced thin and combined in a small bowl. The cooled syrup is poured over. Rested for 10-15 minutes for the vegetables to wilt slightly into the dressing. Served in small individual ramekins as a dip, OR in a larger bowl as a side, with peanuts sprinkled on top.
Akara
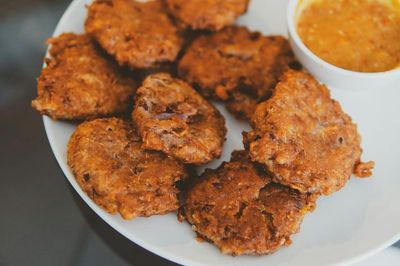
Dried black-eyed beans soak briefly to loosen the skins; the skins rub off (this is the key step, skin-on akara is bitter and grey). The peeled beans go into a blender with onion, Scotch bonnet and just enough water to make a thick batter (not a paste). The batter is whipped by hand or with a wooden spoon for 5 minutes until light and aerated, this is what makes akara fluffy rather than dense. Spoonfuls drop into 175°C oil and fry for 3-4 minutes per side until golden. Drained on paper. Eaten hot.