Cottage
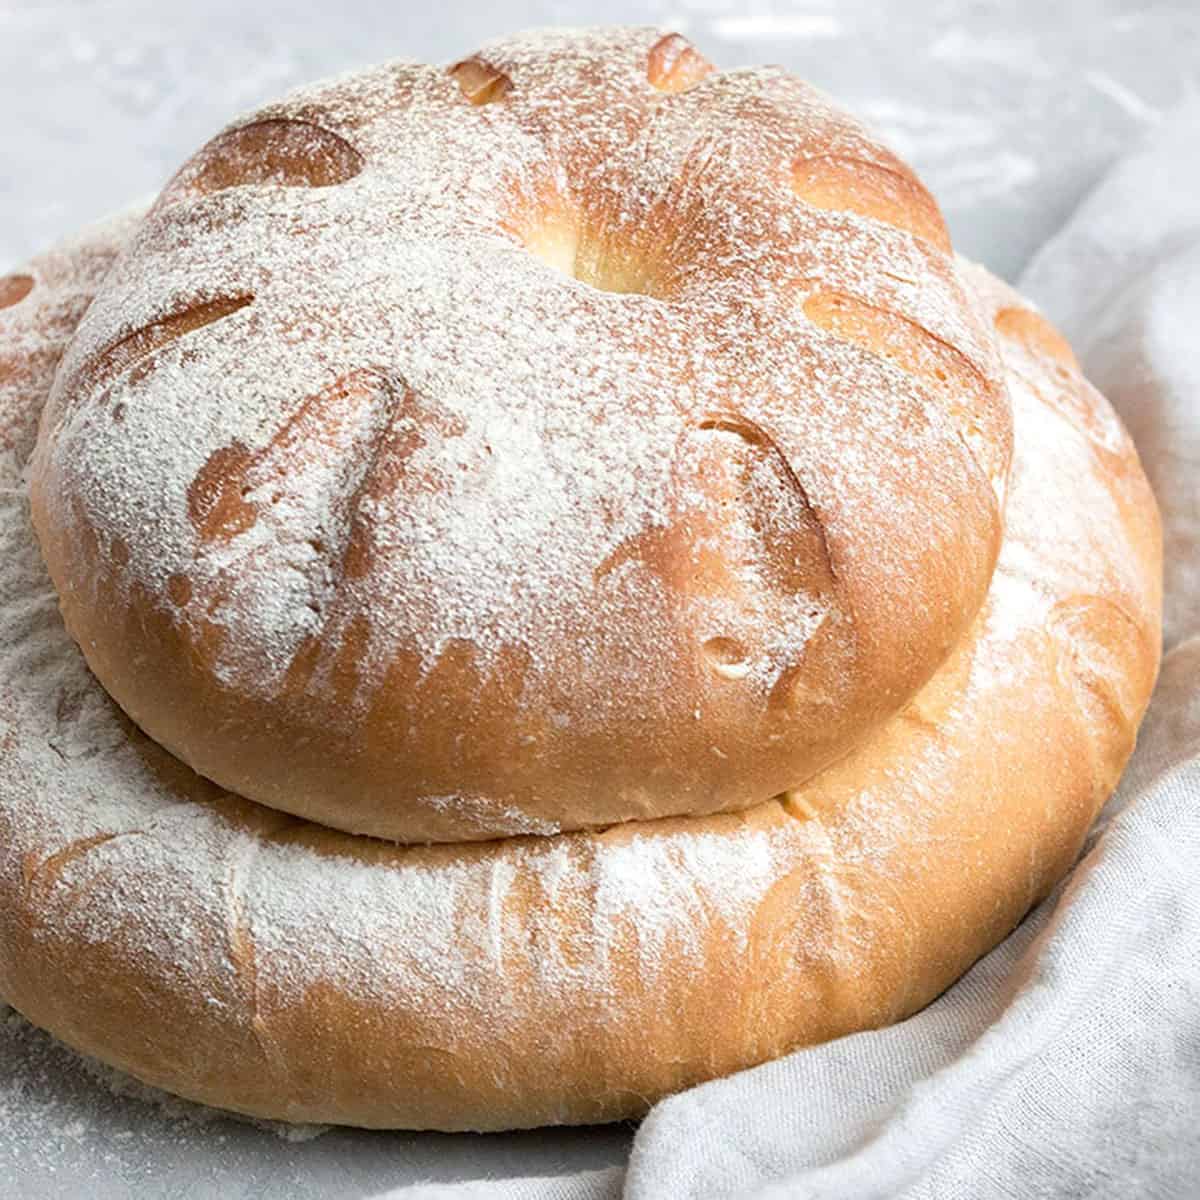
The cottage loaf is two rounds stacked, joined by a finger-hole pushed straight down through both. It looks like nothing else and originated for a practical reason - small wood-fired ovens couldn't fit a single big loaf, so bakers stacked a smaller one on top of a larger one to make the most of the heat. The shape stuck. It's a charming, instantly-recognisable English loaf and surprisingly easy to make.
What you're aiming for
A large round of dough on the bottom, a smaller round of dough on top, joined by a hole pushed cleanly through the centre of both. The two rounds bake into one fused loaf with the smaller one sitting like a beret on the larger one. The upper portion gets a crustier finish than the lower because more of its surface is exposed to the oven heat - a feature, not a flaw.
Dividing the dough
After bulk fermentation, weigh your dough and divide it into two unequal pieces in roughly a 2:1 ratio. For 600 g of dough, that's 400 g for the base and 200 g for the top. Don't worry if you're a bit off - eyeball it generously, the ratio just needs to look right.
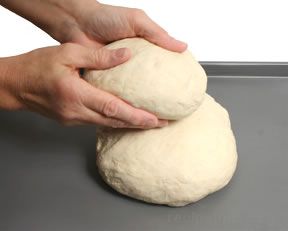
Shape each piece into a round using the cup-and-rotate technique from the cob page: push, flip, then rotate between your cupped hands while pulling the dough tight against the work surface. Two clean rounds, taut on top, pucker underneath.
Stacking and joining
Place the larger round on a lightly greased baking sheet. Lift the smaller round and place it gently in the centre on top of the larger one.
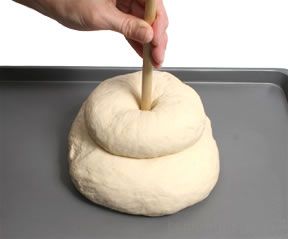
This is the moment where the cottage becomes a cottage.
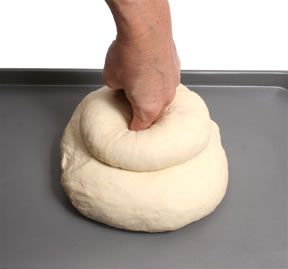
Take two fingers (index and middle) or the floured handle of a wooden spoon, and push straight down through the centre of the top round, continuing all the way through into the bottom round. Push firmly and confidently - you want to feel your fingers reach the baking sheet, or near to it. The dough from the top round gets pressed down into the bottom round, and this is what welds the two pieces together during the bake. A timid finger-hole pulls apart in the oven; a confident one fuses cleanly.
Withdraw your fingers slowly and the dough closes slightly around the hole. That's fine - the visual finger-mark is a feature.
Prove and bake
Cover loosely with a damp tea towel and prove in a warm spot for 45 to 60 minutes, until the dough springs back slowly when poked (see Proving).
Bake at 220°C for 30 to 35 minutes until both rounds are deeply golden - the smaller upper round will brown faster, which is correct. The two pieces should look fused into a single sculptural loaf.
Cool on a wire rack for at least an hour. To slice, halve the whole loaf vertically through the middle; you'll see the cross-section of the join.
Where Next
- Cob or Boule: the foundational round you stack two of for a cottage.
- Coburg: a single round, finished with a deep cross-cut.
- Shape Gallery: back to the full shape list.
More like this

Acar Timun
Cucumber, carrot, shallot, chilli prep into thin slices or matchsticks. Salt rests for 10 minutes to draw moisture, drains. A simple dressing of vinegar, sugar, water and ginger whisks together. Vegetables toss with the dressing; rest for 1 hour at room temperature. Eats cool, never refrigerated cold; the texture suffers.
Adobong Sitaw
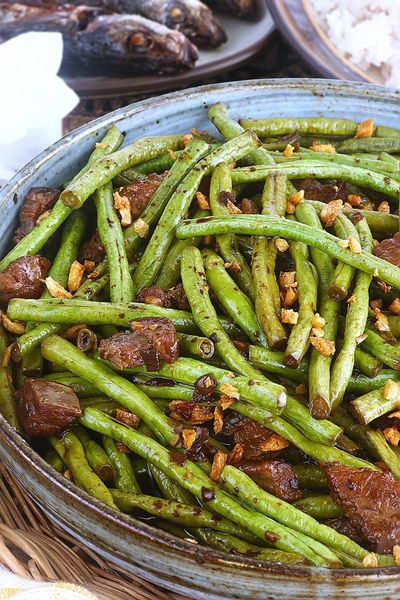
Garlic browns in oil; long beans toss in to colour briefly. Soy and vinegar pour in with bay and peppercorns; the beans braise covered until tender. Lid off; the liquid reduces to a glaze. Salt at the end, not the start, since soy is salty enough.
Ajad
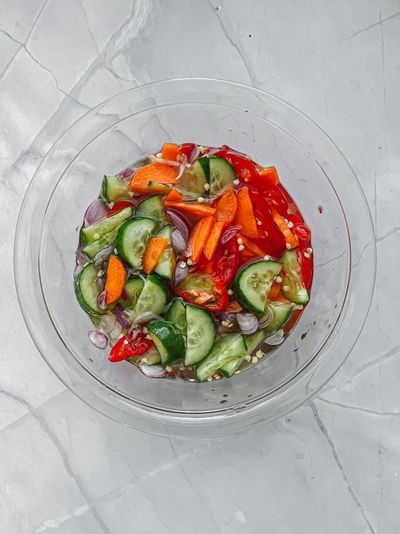
A simple syrup of rice vinegar, palm sugar, water and salt is brought to a gentle simmer to dissolve the sugar, then cooled. Cucumber, shallot and chilli are sliced thin and combined in a small bowl. The cooled syrup is poured over. Rested for 10-15 minutes for the vegetables to wilt slightly into the dressing. Served in small individual ramekins as a dip, OR in a larger bowl as a side, with peanuts sprinkled on top.
Akara
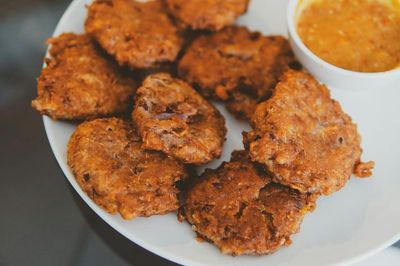
Dried black-eyed beans soak briefly to loosen the skins; the skins rub off (this is the key step, skin-on akara is bitter and grey). The peeled beans go into a blender with onion, Scotch bonnet and just enough water to make a thick batter (not a paste). The batter is whipped by hand or with a wooden spoon for 5 minutes until light and aerated, this is what makes akara fluffy rather than dense. Spoonfuls drop into 175°C oil and fry for 3-4 minutes per side until golden. Drained on paper. Eaten hot.