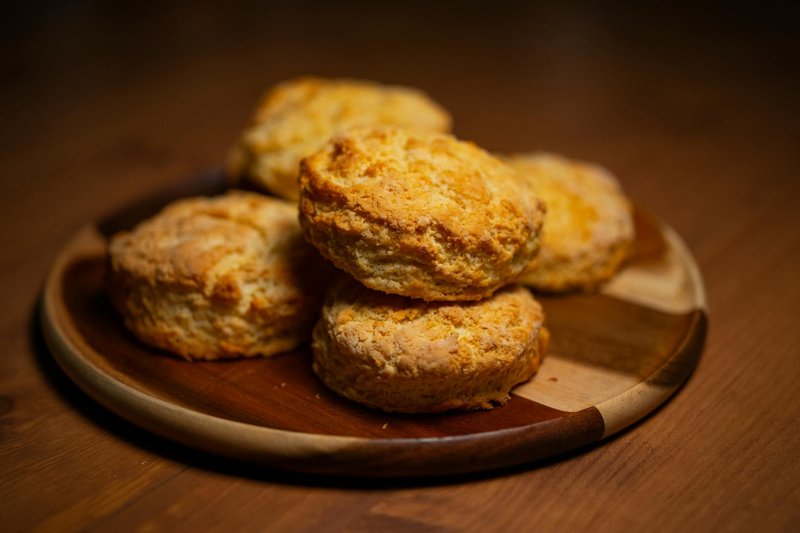
Buttermilk Biscuits
The American flaky soft biscuit: short by butter, leavened by baking powder and buttermilk, baked tall and gold. Eaten warm with butter, jam or gravy.
Overview
Cold butter cuts into flour with leavening and salt; remains in pea-sized pieces. Cold buttermilk hydrates to a shaggy dough. The dough turns out, pats flat, folds three times (lamination), pats out again, stamps with a sharp cutter (no twisting). Baked at high heat 12-15 minutes until tall, gold and steam-puffed.
Ingredients
- 400 g plain flour (plus more for dusting)
- 2 tablespoons baking powder
- 1 teaspoon baking soda
- 1 teaspoon salt
- 1 tablespoon caster sugar (optional, for slight sweet edge)
- 200 g cold unsalted butter (cubed)
- 300 ml cold buttermilk (more as needed)
- 2 tablespoons melted butter (for brushing)
Method
Stage 1 - Dry mix
- Whisk flour, baking powder, baking soda, salt and sugar (if using) in a wide bowl.
Stage 2 - Cut in butter
- Add cold cubed butter.
- Rub with fingertips or pulse with a pastry cutter until the butter is in pea-sized pieces, with some bits left larger. Coarse, not fine.
Stage 3 - Liquid
- Pour in cold buttermilk in a stream while folding with a butter knife.
- Stop as soon as the dough comes together to a shaggy mass - slightly tacky, with visible butter pieces.
Stage 4 - Laminate
- Tip onto a lightly floured surface.
- Pat into a 2 cm thick rectangle.
- Fold in thirds (like a letter). Rotate 90°.
- Pat to 2 cm. Fold in thirds again. Repeat once more - 3 folds total.
Stage 5 - Cut
- Pat to 2 cm thick. Stamp out 6 cm rounds with a sharp cutter pressed straight down. Do not twist.
- Re-roll scraps lightly for the final 2-3.
Stage 6 - Bake
- Heat oven to 220°C (200°C fan).
- Place biscuits on a lined baking tray, sides almost touching (helps them rise tall, not spread).
- Brush tops with melted butter.
- Bake 12-15 minutes until tall, gold and the sides have separated into visible flaky layers.
Stage 7 - Serve
- Brush again with melted butter while hot.
- Eat warm with butter and jam, or sausage gravy, or split into ham biscuits.
Notes
- Cold everything: Cold butter creates the layers; cold buttermilk keeps the gluten dormant. Warm dough gives flat, dense biscuits.
- Don't twist the cutter: Twisting seals the edges and prevents rise. Press straight down.
- 3 folds: This is the lamination. Skipping it gives crumbly biscuits; doing it gives tall flaky ones.
Storage
- Best fresh, eaten warm.
- Keep 24 hours wrapped at room temperature; refresh 4 minutes in a 180°C oven.
- Freeze unbaked stamped biscuits 2 months. Bake from frozen, adding 3 minutes.
More like this
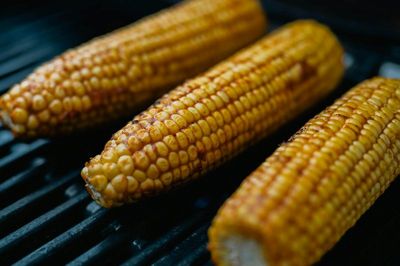
Grilled Corn on the Cob
Grilled corn on the cob is the unofficial flag of an American summer cookout. Whether it appears alongside ribs in Kansas City, brisket in central Texas, or burgers on a Midwestern back porch, the technique is essentially the same: husk the cob, lay it directly over hot coals or a hard gas flame, and turn it until the kernels darken and pop with sugar caramelisation. The flavour is straightforward but layered. Heat converts the corn's starches and sugars into something almost popcorn-like in aroma, while a slick of garlic butter melts into every crevice and a squeeze of lime cuts cleanly through the richness. Difficulty is low, but the line between perfectly grilled and overcooked is narrow, since corn can dry out quickly once the kernels begin to wrinkle. The trick is high direct heat for a short time, and constant turning so each side picks up colour without burning through. American corn culture has always borrowed generously from its neighbours, and any conversation about grilled corn eventually circles to elote, the Mexican street-food version slathered in mayo, cotija, chilli, and lime. The recipe here keeps to the cleaner butter-and-chive backyard style, but elote is just a brush away in the notes. Serve hot, straight off the grill, with extra butter and napkins, because nobody eats this neatly and nobody minds.
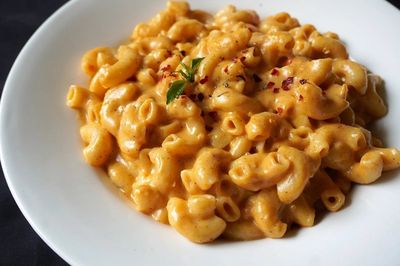
Mac and Cheese
Pasta cooks just past al dente in salted water. A béchamel builds from butter, flour, milk and a pinch of mustard powder, paprika and cayenne. Off the heat, grated cheese melts in. Pasta tosses through the sauce; tipped into a baking dish; topped with buttered breadcrumbs; baked for 25 minutes until deeply golden.
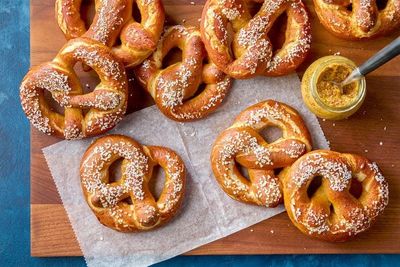
Soft Pretzels
A yeasted bread dough rises for 1 hour. Divided into 6 ropes (50 cm each); each rope knots into the classic pretzel shape. Each pretzel dips for 15 seconds into a baking-soda bath (boiling water + soda), this gives the colour and characteristic flavour. Salt scattered; baked at 220°C until darkly burnished.
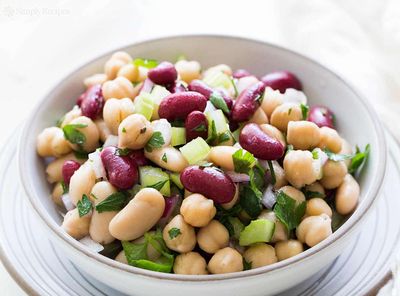
Three-Bean Salad
Three-bean salad is one of those quietly enduring American classics that has been served at potlucks, church suppers, and Memorial Day cookouts since at least the 1950s. It rose to ubiquity through community cookbooks and the back of tinned-bean labels, and it has held on because it ticks every potluck virtue: it travels well, gets better as it sits, costs almost nothing, and feeds a crowd without fuss. The flavour is built on contrast. Soft, starchy beans soak up an assertive sweet-sour vinaigrette of cider vinegar, sugar, and oil, while crunchy green beans and the pungent bite of red onion keep the texture lively. There is a sweetness to it that can surprise first-timers, but that gentle candy-vinegar note is exactly the point. It is what defines this salad and what makes it sing alongside grilled meats, fried chicken, hot dogs, and barbecue. Difficulty is minimal, which is part of its old-fashioned charm. The only rules are to use good tinned pulses, rinse them thoroughly, and give the salad plenty of time in the fridge so the beans drink in the dressing. Made the day before, it transforms from a tidy mix of beans into something deeper and more harmonious, and it will keep happily for days, making it one of the most cookout-friendly sides you can have ready in advance.