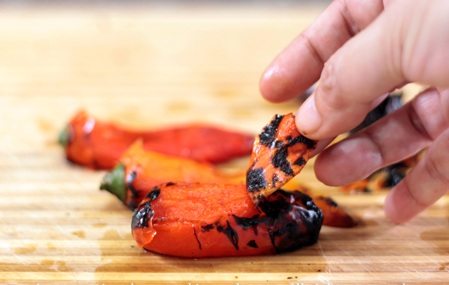
De-Skinning Peppers
Removing pepper skins reveals the tender, sweet flesh beneath. Two methods, roasting and searing over flame, both work beautifully but produce slightly different results depending on whether you prioritize deeper flavor or firmer texture.
Overview
Charring pepper skins under heat causes them to separate from the flesh, allowing easy removal while concentrating the pepper's sweet, fruity flavor. The key difference between the two methods: roasting in an oven cooks the internal flesh gently, creating a soft, luxurious result; searing over direct flame keeps the flesh firmer while still charring the exterior. Choose based on your intended use and desired texture.
Ingredients
Peppers & Oil
- Fresh red, yellow, or orange peppers (bell peppers preferred for sweetness and flesh thickness)
- Extra virgin olive oil (for coating)
- Salt and pepper (for seasoning, optional)
For Ice Bath (Searing Method Only)
- Ice-cold water
Method - Roasting Method (Softer Flesh)
Stage 1 - Prepare Oven & Peppers
- Preheat the oven to 200°C.
- Wash the peppers and pat dry.
- Cut each pepper in half lengthwise, removing the stem end.
- Using a sharp knife or your fingers, remove the white pith (internal ribbed membranes) and discard.
- Shake out the seeds and discard.
Stage 2 - Oil & Roast
- Lightly rub the entire surface of each pepper half with extra virgin olive oil.
- Place the peppers skin-side up on a large baking sheet or roasting pan.
- Place in the preheated 200°C oven.
- Roast for 15-20 minutes until the skins turn black and blister considerably.
Stage 3 - Steam & Cool
- Remove the roasting pan from the oven.
- Immediately transfer the hot peppers to a clean plastic food bag or place them in a covered bowl.
- Close the bag or cover the bowl; this traps steam, which helps separate the skin from the flesh.
- Leave for 10 minutes while the peppers cool in the steam.
Stage 4 - Peel
- Once cool enough to handle, remove the peppers from the bag.
- Using your fingers, gently pull the blackened skin off the pepper flesh; it should come away easily.
- If the skin resists, return peppers to the bag for a few more minutes.
- Discard all skin.
- Pat the peeled peppers dry with a clean cloth.
Method - Searing Method (Firmer Flesh)
Stage 1 - Prepare Peppers
- Wash the peppers and leave whole, with skin intact.
- Pat dry completely.
Stage 2 - Oil & Sear
- Lightly rub each pepper all over with olive oil.
- Insert the prongs of a long fork into the top (stem end) of the pepper.
- Hold the pepper directly over a naked flame (gas stove burner is ideal).
Stage 3 - Char the Skin
- Slowly rotate the pepper over the flame so the skin is evenly exposed and charred.
- Keep it moving so the flesh doesn't cook excessively; you want blackened exterior skin, not flames touching the pepper.
- Continue turning until the entire surface is black and charred, about 4-6 minutes total.
Stage 4 - Cool & Peel
- Immediately plunge the hot pepper into a bowl of ice-cold water to stop the cooking process.
- Leave for 1-2 minutes to cool.
- Once cool enough to handle, remove from the water.
- The skin can now be peeled off easily using your fingers.
- Cut off the top (stem end) and remove all remaining pith and seeds.
- Discard skin and seeds.
- Pat dry with a clean cloth.
Notes
- Pepper Color: Red, yellow, and orange peppers are sweetest. Green peppers are more bitter but can be used.
- Blackness is Good: The blacker and more charred the skin, the easier it is to remove.
- Steam Helps: The steam in the roasting method is crucial; it creates separation between skin and flesh.
- Ice Water Matters: In the searing method, the cold water stops the pepper from continuing to cook in residual heat.
- Yields Loss: Expect to lose about 20-30% of the pepper weight during skinning (mostly skin and seeds).
- Texture Difference: Roasted peppers are soft and luxurious; seared peppers are still tender but with more structure.
Variations
Leave Some Char & Texture: Don't remove all the blackened bits; they add flavor to some dishes. Grill Method: If you have a grill, place whole peppers directly on the grate over medium-high heat, turning frequently. Under the Broiler: Place peppers on a broiler pan under a hot broiler, turning frequently until charred (works well in apartment kitchens with no gas flame).
Serving
Use for: Roasted pepper salads, antipasto, pasta dishes, tapas, sandwich fillings, soup bases, ratatouille Temperature: Room temperature or warm Storage: In olive oil to prevent oxidation and drying Amount: ½ pepper per serving
Storage
- In an airtight container with olive oil cover, keeps refrigerated for up to 1 week
- Can be frozen for up to 1 month (thaw before serving)
- Best served at room temperature or warmed very gently
- The olive oil overlay prevents oxidation that turns peppers brown
More like this
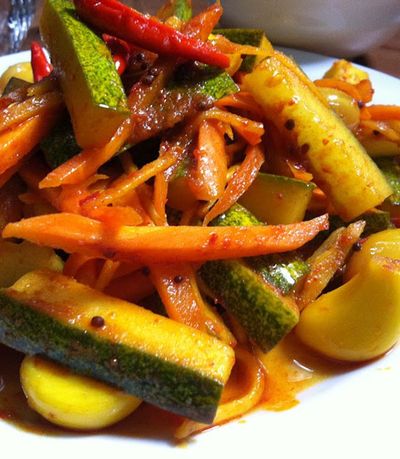
Acar Timun
Cucumber, carrot, shallot, chilli prep into thin slices or matchsticks. Salt rests for 10 minutes to draw moisture, drains. A simple dressing of vinegar, sugar, water and ginger whisks together. Vegetables toss with the dressing; rest for 1 hour at room temperature. Eats cool, never refrigerated cold; the texture suffers.
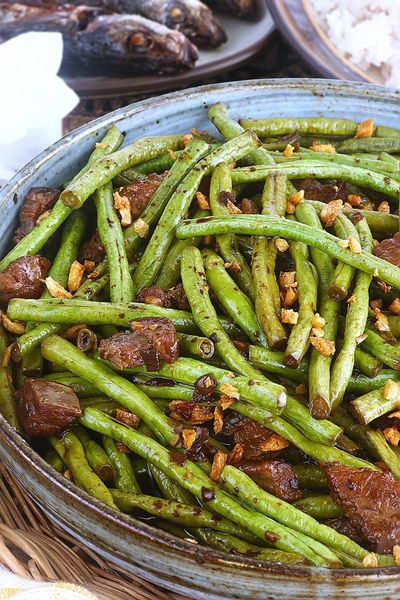
Adobong Sitaw
Garlic browns in oil; long beans toss in to colour briefly. Soy and vinegar pour in with bay and peppercorns; the beans braise covered until tender. Lid off; the liquid reduces to a glaze. Salt at the end, not the start, since soy is salty enough.
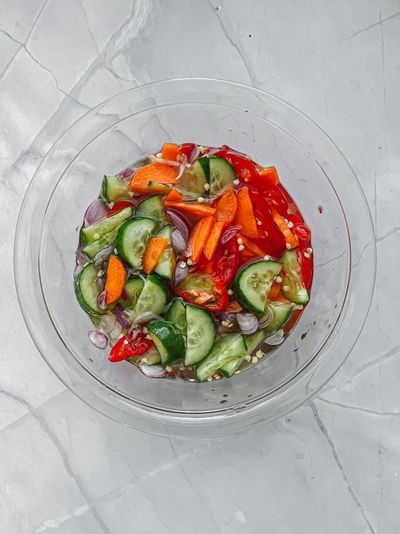
Ajad
A simple syrup of rice vinegar, palm sugar, water and salt is brought to a gentle simmer to dissolve the sugar, then cooled. Cucumber, shallot and chilli are sliced thin and combined in a small bowl. The cooled syrup is poured over. Rested for 10-15 minutes for the vegetables to wilt slightly into the dressing. Served in small individual ramekins as a dip, OR in a larger bowl as a side, with peanuts sprinkled on top.
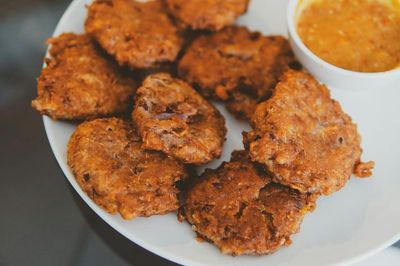
Akara
Dried black-eyed beans soak briefly to loosen the skins; the skins rub off (this is the key step, skin-on akara is bitter and grey). The peeled beans go into a blender with onion, Scotch bonnet and just enough water to make a thick batter (not a paste). The batter is whipped by hand or with a wooden spoon for 5 minutes until light and aerated, this is what makes akara fluffy rather than dense. Spoonfuls drop into 175°C oil and fry for 3-4 minutes per side until golden. Drained on paper. Eaten hot.