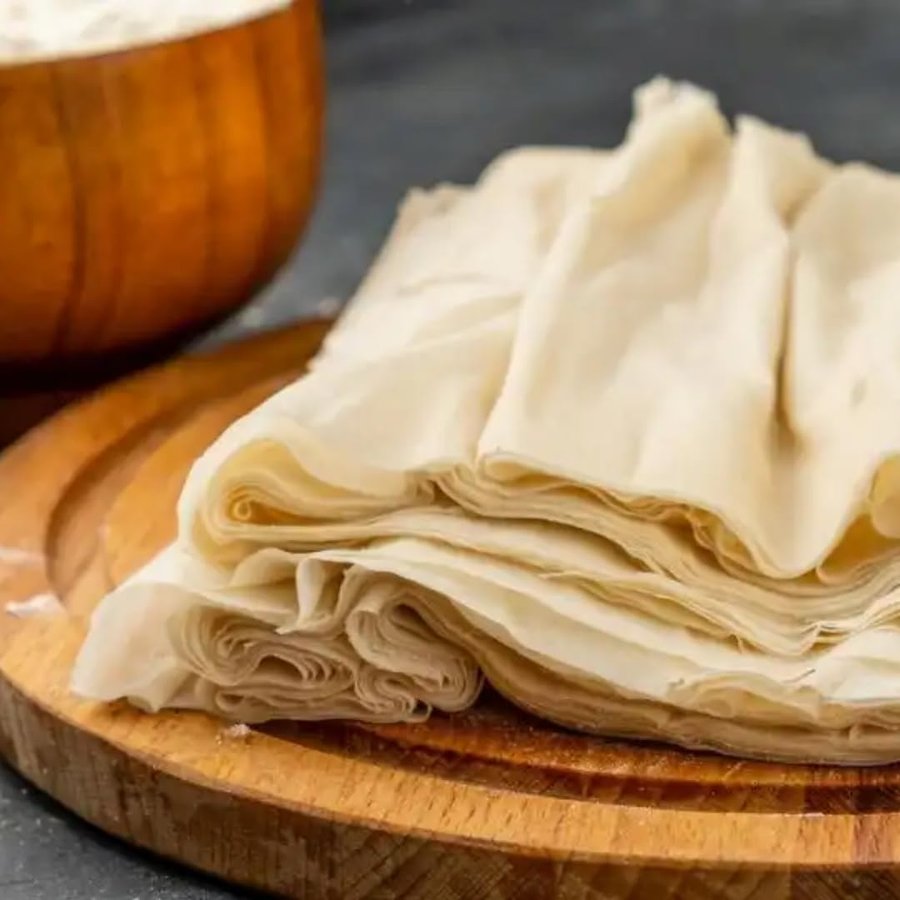
Filo Pastry
As with all pastry, mastering filo is very satisfying. The difficulty of rolling the dough to the required thinness of only ½ mm is not insurmountable, but it's certainly a challenge.
Overview
Filo pastry is an extraordinarily thin, delicate dough that requires skill and patience to master but rewards the effort with its ethereal, crispy layers. Unlike laminated doughs, filo is stretched by hand to transparent thinness, creating a unique texture. Its versatility allows it to be used for both sweet and savory preparations, showcasing fillings visually while providing a delicate crunch.
Ingredients
- 400 grams plain flour
- 6 grams fine salt
- 330 ml water (heated to 50°C)
- 30 ml olive oil
- cornflour (to dust)
Method
Make the dough
- Combine the flour, salt and water in the bowl of an electric mixer fitter with a dough hook and mix at low speed.
- As soon as the ingredients start to come to together, pour in the oil in a thin stream.
- Stop mixing as soon as the dough is amalgamated.
- Use a spatula to scrape down any dough sticking to the sides of the bowl and the dough hook.
- Switch the motor to medium speed and work the dough for 3 - 4 minutes.
- It will almost come away from the bowl when it is fairly soft and slightly sticky,
Rest the dough
- Put the dough on the work surface and shape into a ball.
- Divide the dough into pieces about 60 grams each.
- Shape each piece again into separate balls and place on a baking sheet dusted with cornflour, spacing them several centimetres apart. Cover with cling film and leave to rest somewhere fairly cool (14 - 16°C) for at least two hours before using.
Rolling the pastry
- Lightly dust a 60 cm round wooden board with cornflour and place a ball of filo in the middle.
- Using a long thin wooden pole or piece of doweling as a rolling pin, roll into a 14 - 16 cm disc.
- From the point onwards, press down with your hands on each end of the pole to stretch the pastry sideways.
- It is essential to keep dusting the top of the filo as you stretch it.
- As soon as the sheet of filo is the perfect thinness (½ mm), lay it on a baking sheet and immediately cover with a lightly dampened tea towel to prevent it from drying out.
- Make another sheet of filo using another ball of dough.
- Dust the first sheet with cornflour, then place the second sheet on top and cover this sheet with the dampened tea towel.
- Continue this way until you have used all the pastry, covering the final sheet with the dampened tea towel.
Notes
- Resting the dough at cool temperature (14-16°C) is essential; warm dough becomes too elastic to stretch thin
- Stretching filo by hand (not rolling pins) creates the characteristic thin sheets; use gentle, even pressure and stretch from the center outward
- Dusting cornflour between layers prevents sticking and keeps sheets separate for handling
- Filo dries immediately upon exposure to air; keep unworked dough and finished sheets covered with damp towels at all times
Serving
Use filo sheets layered with fillings (sweet or savory) and brush generously with melted butter between each layer. Bake until crisp and golden. The transparent, paper-thin layers create visually stunning desserts, sweet varieties showcase caramelized fruits, while savory versions feature cheese and herb fillings.
Storage
Filo pastry is best used within 24 hours of preparation. Store wrapped in damp tea towels in the refrigerator for up to 24 hours. Keep in a sealed plastic bag to prevent drying. Once layered and assembled, bake immediately. Baked filo items are best consumed fresh but can be stored in an airtight container for 1-2 days.
Filo pastry dries out very quickly, so it is essential to cover it with a damp tea towel. Once the pastry has been made, it should be kept wrapped up in a damp tea towel and rested in the refrigerator and used within 24 hours. Most recipes call for interleaving layers of filo, these sheets will need to be brushed generously with melted butter whilst assembling the required dish.
More like this
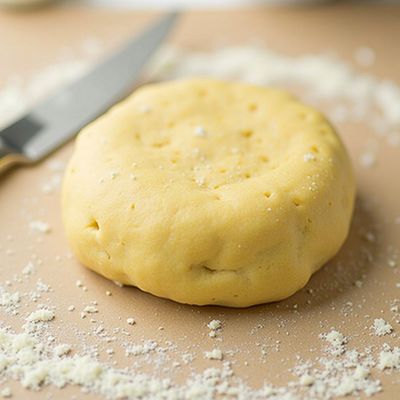
Pâte Moulée (Raised Pie Pastry)
Pâte moulée is a rich, dense pastry traditionally used for raised pies and savory terrines. The high proportion of lard creates a tender, crumbly texture and rich flavor characteristic of traditional British charcuterie presentations. Its distinctive composition and handling technique set it apart from other pastry doughs.
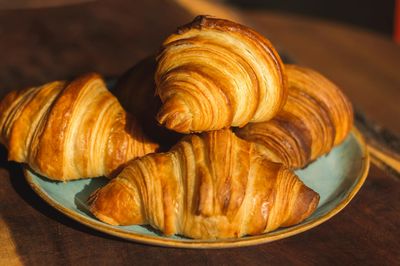
Croissants
Croissant dough is a laminated dough that requires patience and precise technique to achieve its characteristic flaky layers. The interplay between enriched dough and butter layers, combined with careful folding and resting, creates the golden, buttery texture that defines a perfect croissant. This dough demands attention to temperature control and timing throughout its preparation.

Pâte Brisée (Shortcrust)
Pâte brisée is a classic French shortcrust pastry that serves as the foundation for elegant tarts and tartlets. Its tender, crumbly texture and neutral flavor provide a perfect base that complements both sweet and savory fillings without competing. The simple technique of rubbing fat into flour creates its characteristic short, delicate crumb.
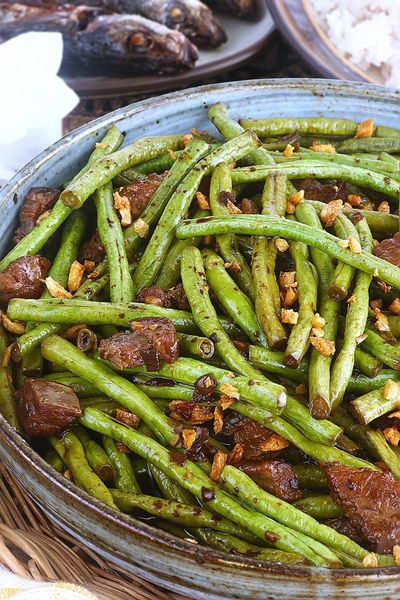
Adobong Sitaw
Garlic browns in oil; long beans toss in to colour briefly. Soy and vinegar pour in with bay and peppercorns; the beans braise covered until tender. Lid off; the liquid reduces to a glaze. Salt at the end, not the start, since soy is salty enough.